Spring Boot starter + spring-boot-starter-web Application
Sat, Nov 23, 2019
Read in 2 minutes
In this article, you will learn how to create a small spring boot app.
Why Spring Boot?
Spring boot provides rapid application development. With spring you have to write a lot of configuration details in spring.config.xml and you have to include a lot of dependency modules. So, to minimize this configuration effort, spring boot comes up starter projects. If you want to build a web application with rest API just you just have to include the spring-boot-starter-web module.
To have a data persistence layer, you have to include spring-boot-starter-data-JPA.
To start the development :
Select “Spring starter Project” in eclipse
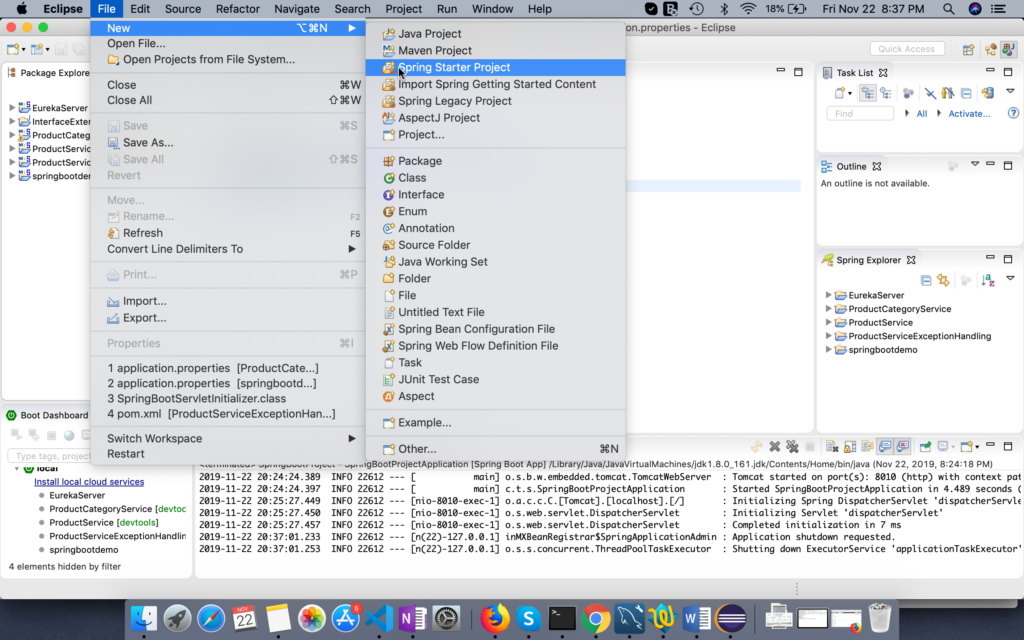
select “Spring Web ” dependency

Now, you will get the below project structure. With the project, you will get the embedded tomcat server.
You will have application.properties file to update all the configuration details. If you want to change the port number you have to update in the application.properties file like server.port=port-number.
@SpringBootApplication – this is the combination of three annotations. @Configuration, @EnableAutoConfiguration,@ComponentScan.
Project Structure
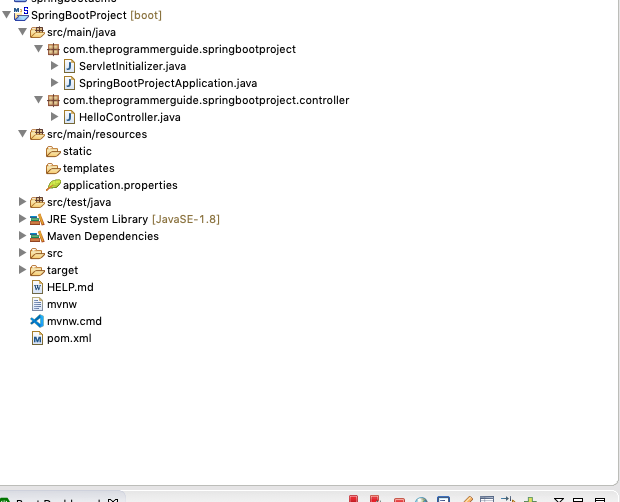
Next, you have to add the rest controller to handle the request.Create a package com.theprogrammerguide.springbootproject.controller and add a class file “HelloController”.
package com.theprogrammerguide.springbootproject.controller;
import org.springframework.web.bind.annotation.RequestMapping;
import org.springframework.web.bind.annotation.RestController;
@RestController
public class HelloController {
	@RequestMapping(value = "/home")
	public String  sayHello() {
		return "say hello";
	}
}
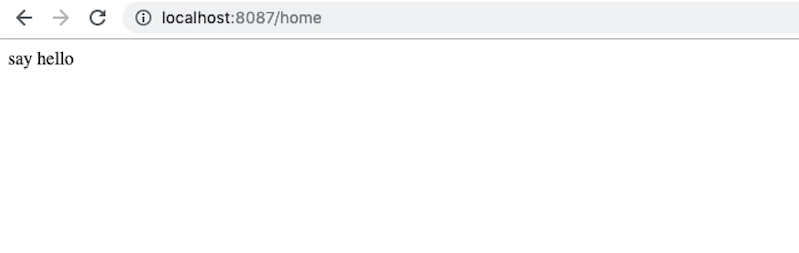
Run the project as “spring boot app “and hit the URL http://localhost:8087/home and you will get the below response.
Output